In this guide, we’ll show you how to install California shutters in your home.
At Graham’s and Son Interiors, we have over 40 years experience in the window treatment business – and we’re excited to share what we’ve learned over the many years with you!
Our guide to California shutter installation will go over two common methods of installation: the DIY route and professional installation. Are you ready to get your own beautiful shutters? Let’s get started!
How To Install California Shutters Yourself

California shutters come in a wide range of sizes and styles – you can choose them for your small bathroom or basement window, or get full-sized shutters that cover an entire sliding doorway system! Because of that, the installation process may slightly vary depending on the size of your window or doorway – with shutters for smaller windows typically being easier to install. However, the general process will remain very similar for most California shutters. If you’re wondering how to install California shutters yourself, keep reading below and we’ll give you the step-by-step process.
Materials You'll Need
You may be surprised to learn that you actually won’t need too many different tools or materials! The installation process is generally fairly simple. Most guides recommend you have the following:
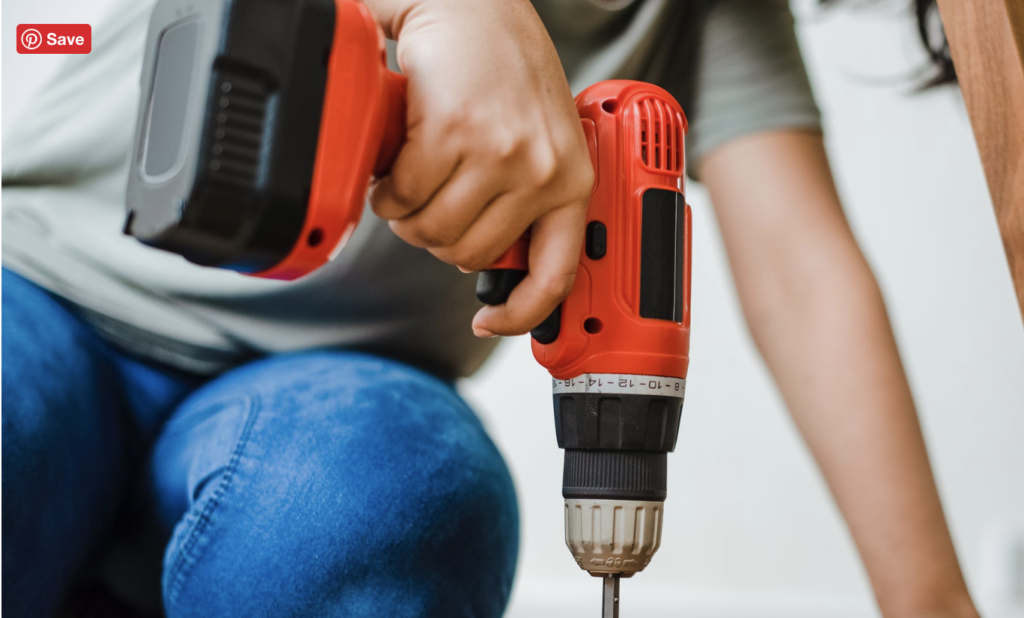
- A drill (with a 1/4″ drill bit)
- A Level
- A pencil
- A tape measure (ideally a metal one)
- All materials that come with your shutters

If you don’t have these tools at home, you will want to purchase them and become familiar with them before you start the installation. You won’t want to use a drill for the very first time, when you install! A seemingly small mistake could end up costing you – so it’s important to feel comfortable with all the materials you’ll be using beforehand.
Step-By-Step Installation Process

Step 1 - Measure Your Window
The first step in the process is to simply measure you window. You will want to ensure this measurement is accurate! California shutters fit perfectly within your window frame, so even a slight miscalculation can make you end up with the wrong size shutters. If you aren’t sure how to measure for your new shutters, check out this guide from UK company California Shutters.

Step 2 - Use Filler Strips If Necessary
Filler strips are pretty much just what they sound like – strips of material that help you fill in gaps if if you need to adjust the width of your shutters. If you order shutters intended for a DIY installation, most will come with lots of filler strips for you to use if necessary. You can also use the strips to help mark out your layout before you actually start to install your shutters.

Step 3 - Measure Your Shutters & Install Strips
Next, you will want to measure your actual shutters. During this step, you will determine if you need to use filler strips, and if so, how many you will need to install along with your shutters.
If you do need filler strips, you will attach them at this point. Filler strips are attached using a screwdriver to the shutter frames.

Step 4 - Mount Your Shutters
Now, it’s time to start the installation process! Hold your shutters in place and align your screws with the pre-drilled holes (where the holes are located will depend on the style of your shutters). Slowly tighten the screws – ensuring not to go too tight! You want to be able to make adjustments if the shutters are not aligned perfectly the first time.

Step 5 - Check The Alignment
Once your shutters are mounted to your window, move them around, open and close them, etc. You will want to look closely for any issues you may notice with the alignment. Shutters are excellent insulators, but improper alignment may reduce their insulating abilities, as well as put unnecessary strain on your shutters. If you notice any alignment issues, fix them right away.

Step 6 - Install Hardware
Although most California shutters have a very similar design, there are some differences between types! Some shutters come with additional hardware, such as knobs or latches and locks. If your shutters have these pieces, you will need to install them as well – this is the last step in the process.
First, using your pencil, you will want to mark out where the hardware will go. You can also place a level on the mark to ensure everything is lined up perfectly. Then, pre-drill your holes where you will be installing hardware.
After that, you can install your hardware. You will want to test it out to make sure everything works and is aligned properly.
How Long Will It Take?
Of course, before you start the installation process one of the first things you may want to know is “how long will this take?!” If everything goes well, you can expect to spend about half a day working on this project – so set aside at least 4-6 hours.
However, the process will depend on a number of factors! If you have a large window, that will take longer than a small window. If you measured perfectly and don’t need to make any adjustments, that will take much less time than if you have to install many filler strips and make lots of adjustments.
The process can also take longer or shorter depending on your own skill level. If you are experienced with more complex home improvements, then installing new shutters probably won’t take you as long as it would for someone who is brand new at DIY projects. Any mistakes you make – even minor mistakes – can add on more time.
If you are new at DIY projects, you probably will want to set aside an entire day to work on the project, just to be safe and to ensure you don’t rush through it.
Source – DIYnetwork.com
Check Out This Helpful DIY Installation Video!
Some people learn better by watching rather than reading – if that’s the case for you, check out this simple video that shows how to do a DIY shutter installation, as well as the different types of shutters you will come across when shopping for your own new shutters!
Learn how to install shutters!
After watching this video, you may want to know a bit more about the options you have when choosing shutters. If you want to learn more about the different types of shutters, click here!
Is Professional Installation Right For You?
Although California shutters are not the hardest type of window treatments to install, there are challenges that come with any sort of DIY installation. This is especially true if you have very large windows, or windows in high or hard-to-reach places.
For higher windows, you will need to use a ladder. Working from any sort of heights can be dangerous, so it’s important that you have a spotter and know how to properly use the materials and tools needed to get the job done correctly and safely.
If you’re stuck wondering how to install California shutters, you may find peace of mind working with professionals instead. When you work with professional installers, you won’t have to worry about needing the right tools, materials, or how you’ll safely install shutters in difficult areas of your home.
Any type of installation project also requires some level of know-how. When you work with professionals, you can just sit back and relax and instead researching how to install your shutters properly!

Professional installers can get the job done right - the first time!
Although it may seem like all California shutters look the same, there are many different styles and materials you can choose from – each with their own pros and cons, and ideal uses.
For example, wooden shutters are a high-quality, durable option that look beautiful in nearly any room in the home. However, they are heavier than the alternatives, so aren’t ideal for oversized windows. They are also susceptible to water damage, so you won’t want to use them in highly moist environments, like your bathroom.
Vinyl shutters are easy to care for and, although don’t quite give the same natural look that wooden shutters give, they are water-resistant, which makes them perfect for kitchens and bathrooms.
When you work with a professional window treatment installation company, they will not only help you install your shutters, but they’ll help you every step of the way! Before you even choose your shutters, your professional installers can help you choose the right shutters for your unique needs, your home, and your budget.
California Shutter Installation in Cambridge, ON
If you’re looking for high-quality, professional California shutter installation in Cambridge, Waterloo, Kitchener, or the surrounding areas, you can rely on Graham’s & Son’s 40+ years of experience in the window treatment industry!
All of our projects start with a FREE, no-obligation, in-home consultation, so we can hear all about your plans and dreams. We can help advice you on what types of shutters will be best for your unique home, your wants and needs, and your budget. Let’s get started today!

We Are Hiring - Join Our Team!

Graham’s & Son is looking for a full-time Window Treatment Installer and an Interior Decorator, and we would love for you to join our team! We operate out of Cambridge and are looking for someone who knows the Tri-Cities area well. Training will be provided – some experience required. If you think this may be the perfect job for you, see job requirements and overview by clicking here to learn more about the installer position, or here to learn more about the decorator position.
"Merv and I just wanted to thank Wayne for his advice and expertise. We are so glad that we decided to go ahead and put the California Shutters on both levels. What an amazing difference and feel to our new home. The installer did a fantastic job, very professional and informative. What a great decision to choose Graham’s & Son Interiors!"
– Merv and Colleen, Read More Testimonials!


