
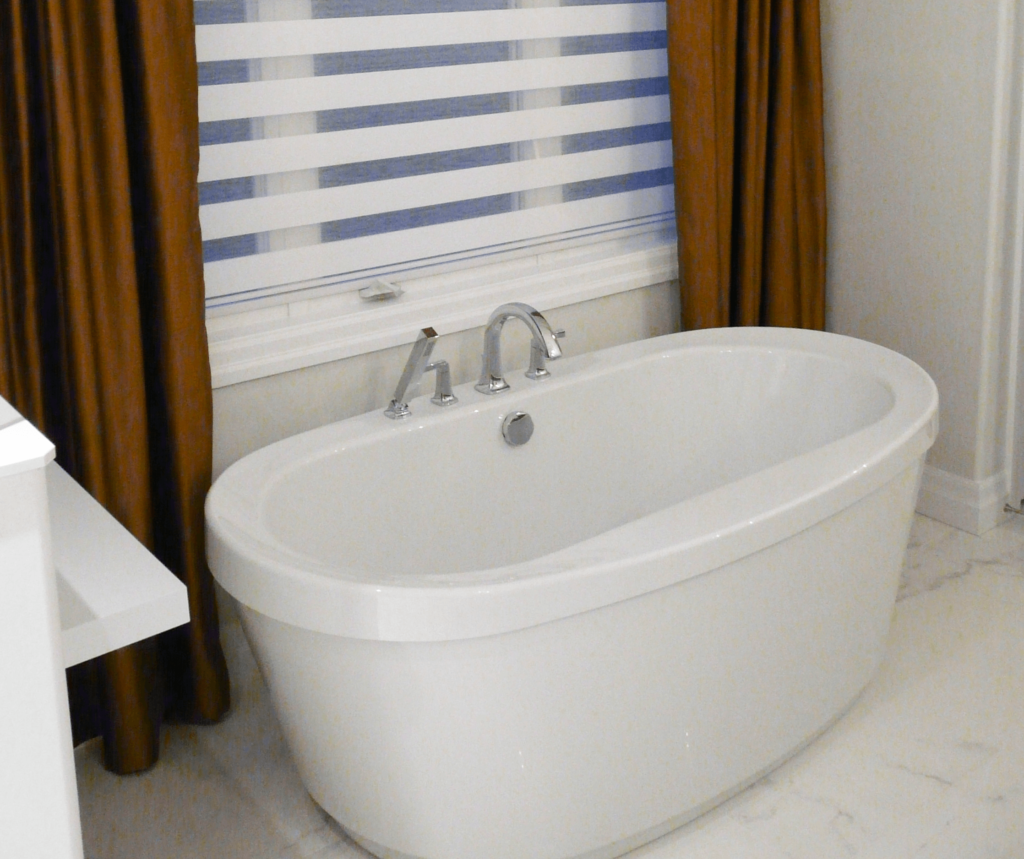
Is your bathtub leaking? That’s not only an annoying nuisance – if left unfixed, the water leaking out can cause serious damage to the walls and flooring surrounding the tub.
If you have the time, fixing leaks in your bathtub is a relatively easy DIY project, even for a beginner. But perhaps that leaky tub means it’s time to replace the tub entirely.
Read on to learn how to find the leak, how to fix different parts of the tub, and what to do about old grout or caulking.
If a luxurious new bathroom is on your wish list, why not talk to the bathroom renovation experts at Graham’s & Son today? We will come to your home for a free, in-home consultation. Tell us your vision and we’ll help you make it a reality.
Finding the Leak

The first step in fixing a leaking bathtub is to discover exactly where the leak is. There are several different areas where leaks in your tub can occur, including:
- Body of the tub
- Tap
- Drain
- Grout or caulking
Take your time when searching for leaks. They can be a lot smaller than you might imagine.
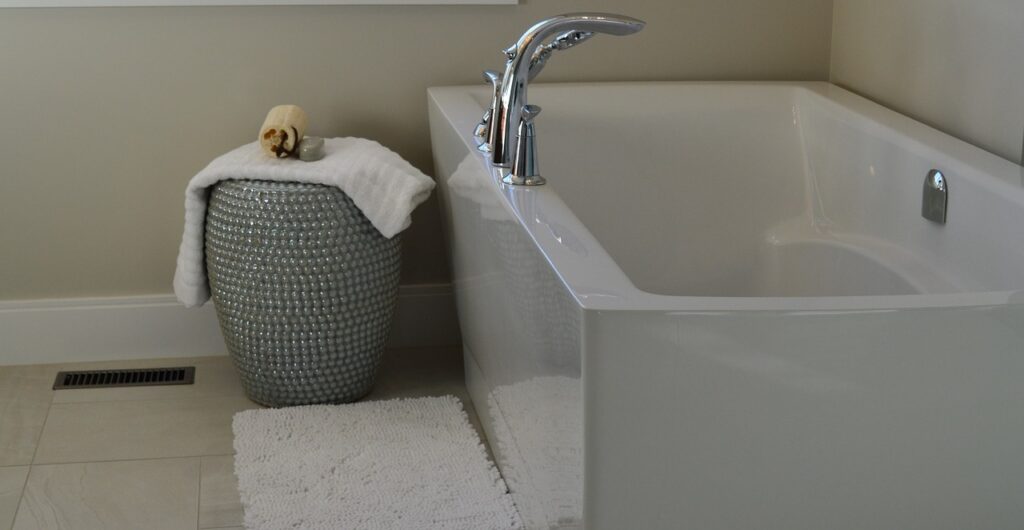
Fixing the Tub Body
- Step 1: Start by drying the tub completely. Wrap the outside of the tub with newspaper, taping the papers into place. Fill the tub with water and look for any wet spots on the paper to find out where the leaks are.
- Step 2: Clean the surface of the tub thoroughly.
- Step 3: Using a washable marker or wax pencil, mark the areas that need repairing.
- Step 4: Apply sealant and let it dry for at least 3 hours.
- Step 5: Lightly sand the surface where the sealant was applied to remove any excess and to make the surface smooth.
If you complete this process and water is still pooling around your tub, there may be multiple leaks.
Fixing a Leaky Tap
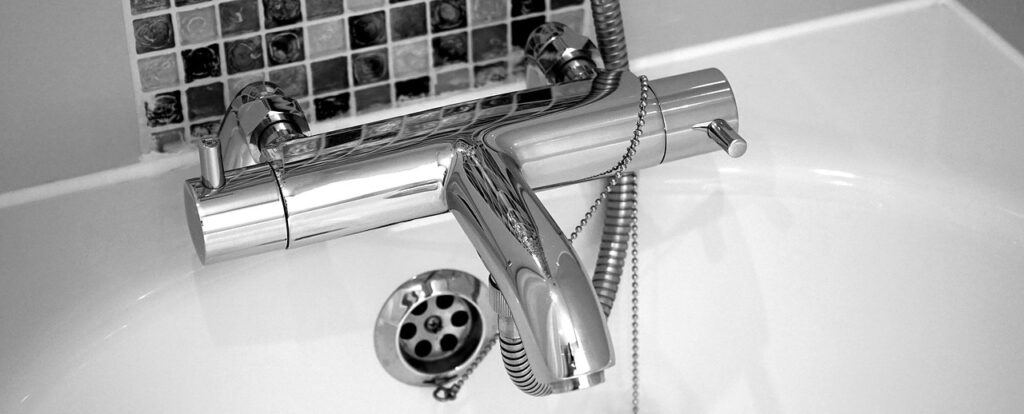
It is easy to see if your tap is leaking as you will notice water dripping from it. Follow the steps below to repair a leaking faucet:
- Step 1: Turn off the water supply to your bathroom.
- Step 2: Remove the screw that holds the tap handle in place. Depending on your tap design, this screw may be hidden by a plastic cap. Remove the plastic cap on the tap handle by using the flat end of a screwdriver or a butter knife to pop it off. Most screws can be removed with a screwdriver, although some can be removed with an Allen key.
- Step 3: Carefully unscrew the tap handle and pull it off.
- Step 4: Using a pipe wrench, loosen and remove the packing nut that locks the stem of the tap in place.
- Step 5: Remove all of the old worn gaskets and washers and replace them with new gaskets inside the faucet and new washers on the stem.
- Step 6: Put the faucet and handle back on, making sure to tighten the screws holding them.
- Step 7: Turn the water supply back on and check that the tap is no longer leaking.
For more detailed instructions and to see how to repair a leaking tap, watch the following video:
Fixing a Leaky Drain
If the leak is coming from the drain, you can do the following:
- Step 1: Turn off the water supply. Using a drain removal tool, remove the drain. If you don’t have one of these tools you can improvise by taking a pair of pliers and using them to grip the mesh of the drain. Then place a screwdriver between the pliers’ handles to act as a lever. Turn counterclockwise to break the putty seal surrounding the drain.
- Step 2: Carefully inspect the drain and the pipe to see if they have any cracks. If they do, then you should replace them with new ones. If there is no damage, then you can use them again.
- Step 3: Using a putty knife, scrape off all of the old putty of the threads of the drain and then rinse it off with hot water.
- Step 4: Take about a one inch ball of plumber’s putty and roll it out into a rope which measures approximately 1/4 inch by 5 inches. Wrap this rope around the middle threads of the drain and lightly press it onto the threads to make sure that it adheres.
- Step 5: Roll out another rope of the same dimensions and carefully wrap it around the bottom of the drain lip where the drain actually touches the surface of the tub when it’s replaced.
- Step 6: Put the drain back into the drain hole and screw it into place until it is hand-tight.
- Step 7: Tighten the drain with the drain removal tool or your makeshift pliers and screwdriver combination.
- Step 8: Clean away any extra putty from the surface of the tub.
- Step 9: Turn on the water supply and check that there are no leaks.
The following video will give you a good visual demonstration of how to replace a leaking drain.
Repairing Grout or Caulking
There is a difference between grout and caulking, and the repairs for each are slightly different too.
Grout: A hard, sandy-like material that is used to fill in the spaces between tiles. If grout gets damaged, it will chip, crack, or crumble.
Caulking: A soft, flexible material that resembles rubber. It is water resistant and is usually used to seal out water where two different surfaces meet, such as between the edge of your tub and the tiles on the wall. When caulking gets damaged it begins to tear away and you can often find mold or mildew on the damaged area.
Repairing Damaged Grout:
- Step 1: Clean the area where the grout is leaking thoroughly.
- Step 2: Turn off the water supply and allow the grout to dry completely.
- Step 3: Apply grout sealant according to the manufacturer’s instructions and allow it to dry for at least 3 hours.
- Step 4: Turn the water back on and check for any leaks.
Note: The above repair is best for smaller areas of damage. For larger areas of grout damage, the grout may have to be replaced, and you should have a professional do the repair as mixing and matching the colour is a difficult task.
The following video shows how to easily apply grout sealant to the damaged area:
Replacing Damaged Caulking:
- Step 1: Remove all of the damaged caulking. You don’t have to use any special tools as you can usually just pull it off and use a putty knife or scraper to scrape off any excess. Do not try to caulk over old caulking.
- Step 2: Clean the area thoroughly with alcohol and let it dry.
- Step 3: Apply new caulking with a caulking gun, or, if it is a smaller area, you can simply apply the caulking straight from a smaller tube.
- Step 4: Allow it to dry at least 4 hours.
The following video will give you more detailed instructions on how to replace old caulking around your bathtub:
Thinking of Renovating?
If you are planning on renovating your bathroom and would like some professional advice, contact Graham’s & Son.
Graham’s & Son has been in the interior design business for over 40 years. We are locally owned and operated and we specialize in all types of renovations, including bathrooms, kitchens, and family rooms. We offer free, in-home consultations, and are involved in the entire renovation process: from taking perfect measurements at the beginning, to supervising a professional installation.
If you are thinking of renovating your bathroom or any room in your home, contact the design experts at Graham’s & Son to book your free in-home consultation.
“Have been doing business with Grahams & Son for many homes and 2 real estate offices. So helpful with colour combinations, decorating ideas and has always looked so beautiful when completed…great prices, great service & exceptional workmanship!”
– Wenda Allen