
Learn how to apply bathroom tiles for walls in a few easy steps. Click on the following sections to learn more.
- Gather Your Materials and Tools Together
- Prepare Your Walls
- Decide on Your Layout
- Spread on the Adhesive
- Install Your Tiles
- Apply the Grout
Installing bathroom tiles may look relatively easy, but it does take skill, practice, and time to get it right. If you would like a professional to do the job for you, contact us.
Installing Bathroom Tiles for Walls
The following is a very thorough video that will show you 4 different ways of installing bathroom tiles for walls. You can either watch the video or continue reading for an overview of the steps.
1. Gather Your Materials and Tools Together
The first step to take to apply bathroom tiles for walls is to get all the supplies you will need and the tools that you will want to use before you begin. Here is a list of each.
Supplies:
- Tiles
- Tile spacers
- Plastic corner trims for the exterior
- and interior corners
- Trim tile (optional)
- Adhesive
- Grout
- Disposable gloves
- Mild soap and sponges or soft cloth
Tools:
- Measuring tape, framing square, pencil
- Score-and-snap tile cutter or wet saw
- Tile nippers
- Notched trowel and margin trowel
- 2 large buckets
- Rubber mallet and spirit level
- Mortar mixer
- Hole saw tile drill bit for tiles around pipes
*Note: If you are applying bathroom tiles around a shower or tub-surround wall, then you will first need to waterproof the wall before you install your tiles. You can use a few different methods including:
- Brush on a waterproof membrane over the cement board base
- Use a cement-based backer boards that has a built-in waterproof membrane
- Install a layer of sheet plastic
After you have waterproofed your walls, the process for installing tiles is the same as when you are installing on a standard wall.
2. Prepare Your Walls
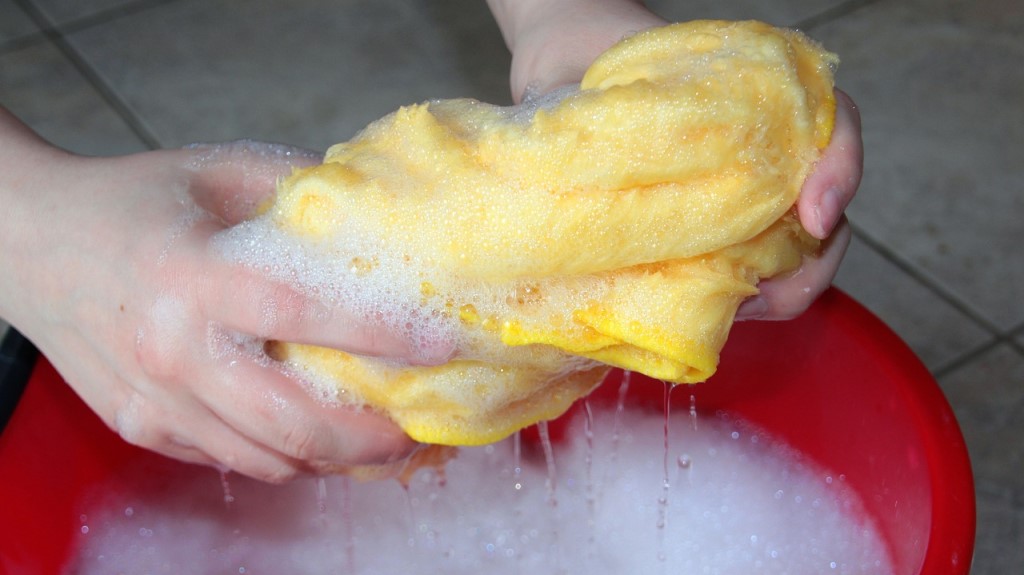
Before you apply bathroom tiles for walls you need to clean you walls
Make sure that the surface of the walls that you will be putting the tiles on is flat and structurally sound before you start applying your bathroom tiles for walls. Using a mild soap and a sponge or a soft cloth, clean your walls thoroughly to remove any dirt, debris, or build-up.
Make sure that the temperature in the room has been between 10 to 21 degrees Celsius for at least 24 hours before you begin. Your adhesive and tiling materials will also need to have been at this temperature for at least 24 hours.
3. Decide on Your Layout
Decide on a layout before you apply bathroom tiles for walls
Accurately measure the height of your walls from floor to ceiling as well as how wide your wall is. Lay a row of tiles out on the floor in a straight line adding tile spacers to each one. Using your tape measure see how much you will need to cut from your first row of tiles. You should always use full tiles for your top row.
Lay out a row of tiles from side to side adding tile spacers again to see how much you will need to cut off the corner tiles. Your tiles need to be at least 5cm wide so you may need to compensate by cutting both corner row tiles.
*Note: You can draw out the pattern for your bathroom tiles for walls on a piece of paper or you can use a computer program such as Sketch-up to draw out the pattern for you. Just make sure that you enter accurate measurements in order to get a proper sketch.
4. Spread on the Adhesive
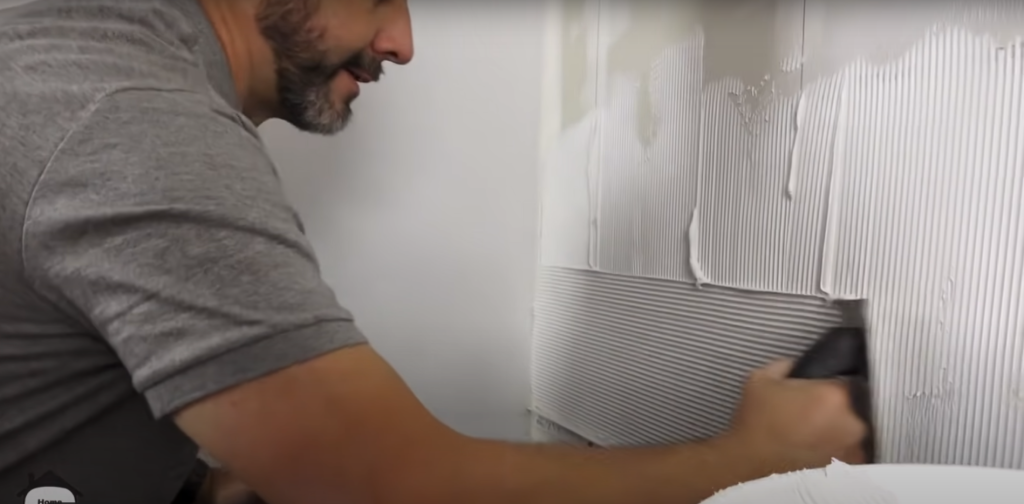
Mix your adhesive (thinset mortar) with water according to the instructions on the bag. Only mix up enough adhesive that you can use up in 20 minutes. If your adhesive doesn’t fall off your trowel, you know that it is the right consistency.
Place a small amount of adhesive on your trowel and using the straight edge of the trowel, spread it on the wall. Use the notched edge to comb it. To ensure that your mortar bed is distributed evenly, hold your trowel at a 45 degree angle against the wall and press firmly. It doesn’t matter what pattern you make for the adhesive ridges as long as the bed of mortar is even.
5. Install Your Tiles
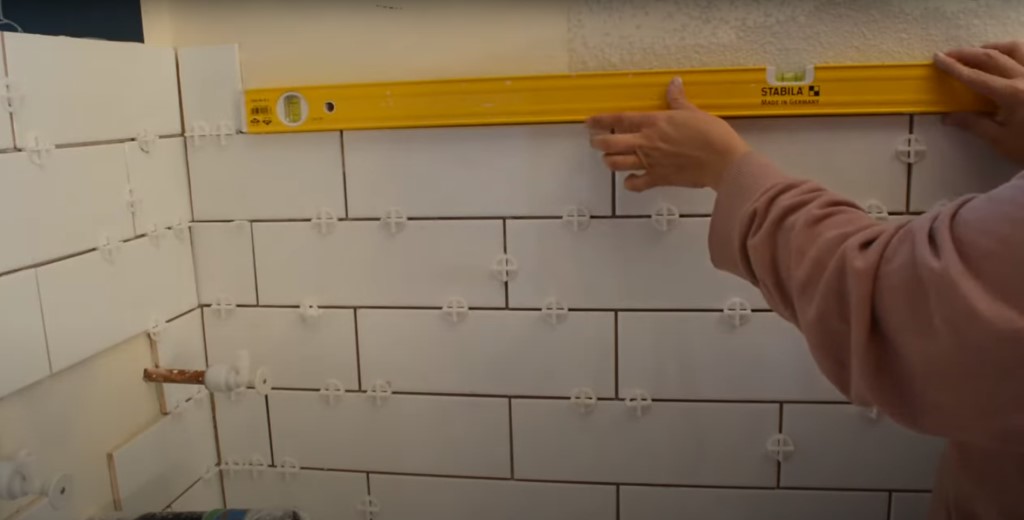
Begin to install your tiles, starting with the first row of full tiles at the bottom of the wall and from the corner that is most visible when you enter the room. Twist you tiles lightly while you are pushing them firmly into the adhesive. After installing each tile, make sure it is level and properly aligned.
Complete an entire row before starting on the next row. That way you can make sure that the row is level before starting another one. Continue applying a small amount of adhesive to a small area. This will ensure that your adhesive won’t dry out before you can finish laying your tiles in that spot.
Next, you want to install the tile spacers. Spacers will ensure that you maintain an even gap between your tiles and keep your joints consistent. Every time you lay a tile, you need to add a spacer.
Tile spacers come in many different sizes, so it is important to choose the kind that will suit the type of tile you have and give you the size of space between tiles you want: small or large.
In order to fix your tiles in place, tap them with a rubber mallet.
You most likely will have to cut the tiles that fit along the corners of your wall. Use a tape measure to get the right size for your tile. You can then cut the tiles with a score-and-snap cutter, a wet saw, or a diamond blade.
You need to measure and cut these tiles very carefully as the corners are usually the most visible tiles in your room. If you have trouble with your cuts and want to hide your mistakes, you could install a corner trim, but make sure that you get one that matches the colour of your tiles.
If you are installing tiles around a window, you will also need exterior corner trim to go around the edges. You will need to use a hole saw drill bit to cut a perfectly round circle for tile that goes around pipes.
Let the tiles dry for 24 hours and then remove all of the spacers.
6. Apply the Grout
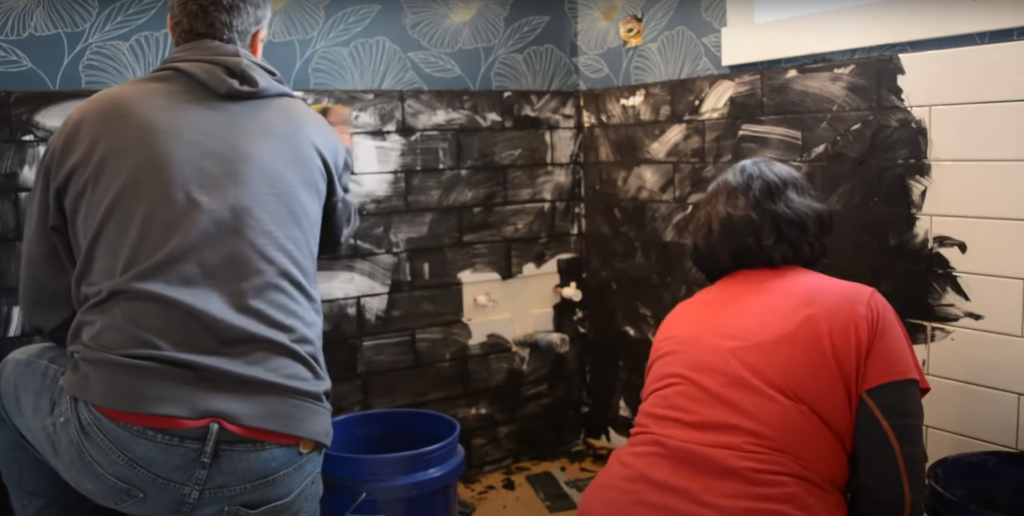
In your second bucket, mix grout according to the instructions given. Using a rubber float, apply the grout holding your tool at a 45-degree angle. Use pressure to gently force the grout evenly and fully into all of the spaces between your tiles.
Before the grout starts to get soft, use a wet sponge and wipe off any excess grout on the tiles. Try not to wipe in the direction of the grout so that you don’t remove any grout from between the joints. Instead, wipe on an angle. Once your grout has dried, use a dry towel to buff up your tiles.
Here’s another great video that will show you how to apply bathroom tiles for walls from start to finish.
Looking for a Reliable Renovation Contractor? Contact Graham's & Son To Get Started On Your Project!

If you are looking for a kitchen or bathroom renovation contractor that you can trust to do the job right and at a price you can afford, contact us.
With over 40 years of experience in the industry, Graham’s & Son Interiors offers full bathroom and kitchen renovations as well as services to enhance your home like flooring, window treatments, and upholstery.
If you live in the Tri-City area of Cambridge, Kitchener, Waterloo or any of the surrounding areas like Guelph, choose Graham’s. With Graham’s, you will receive quality workmanship and installation, friendly service and expertise.
What Our Customers Are Saying…
“We had an extensive home renovation completed by Graham’s & Son Interiors. The finished product is an amazing transformation which came alive with the help of the design team and especially the very hard work done professionally by their contractor.”
– Jacquelyn W.