
In this blog from Graham’s, we’ll review some basic bathtub repair jobs homeowners like you can do yourself. Take care of leaks and scratches on your own or, if you have serious damage to take care of or need a new look, learn about Graham’s Bathroom Renovations.
2. Replace A Tub Faucet / Spout
4. Bathroom Renovations From Graham’s & Son Interiors
Whether you do the repairs yourself or call upon our professional services, we’ll help you improve the look and function of your bathroom! Contact us if you have any questions about bathtub repair.
With proper bathtub repair, you can extend its life and enjoy it longer. (Image Source: Pixabay)
Bathtub Repair & Renovation
1. Stop Leaks With Caulk
When you have water in the house, you want to make sure it doesn’t leak. Water leakage can cause mould and other damage. One area that often causes leaks is the area surrounding your bathtub. You may have a sealant that doesn’t work or cracks in the existing sealant. In this section, we’ll review the steps to sealing the space between the tub and the shower wall, as well as between corner walls and tiles.
You can watch the video below for instructions or skip ahead to follow the written instructions we’ve included below the video.
Items Needed:
To complete this job, you’ll need the following items:
- Razor Blade (& a Corner Grooving Tool if you have one)
- Drop Cloth
- Rags
- Rubbing Alcohol
- Painter’s Tape
- 100% Silicone Caulking
- Caulking Gun
Steps To Follow
- To protect your drain from clogging and your tub from scratching, close your tub’s drain and cover the tub with a drop cloth.
- Use a razor blade to carefully remove old caulking. New caulking will stick better if there is none left over. You’ll do this on both sides of the caulking, where it meets the tub and where it meets the tile. Pull the old caulking away, using your razor blade again over any places you missed. Don’t forget to do this in the corners – you can use a corner grooving tool to make your work easier.
- Before cleaning the area with rubbing alcohol, make sure you are in a well-ventilated area (use a fan, open a window, etc.). With a rag and rubbing alcohol, clean off the spaces where the old caulking used to be.
- Use painter’s tape to protect the edges of the area you will be caulking and leave a small space for caulking between the wall and the tub, etc.
- Put the tube of caulking in the gun and cut open the tip of the caulking tube.
- Now add the caulking, following the line of space in between the painter’s tape. Keep the gun perpendicular and keep pulling the trigger as you go along. You want to make sure you have a steady and consistent amount of caulking coming out and you don’t want to go too fast. Use your finger and go over the caulking to smooth it out after you’ve applied some. Some of it will get on the tape and that is ok. You’ll repeat this at each line, stopping at corners where necessary to smooth caulking out or fill in gaps.
- When you’ve finished caulking, remove the painter’s tape and let the caulking dry. You’ll need to wait 30 minutes before using the shower again and 24 hours before you touch the caulking. That is the full amount of time it will need to cure. And you’re done!
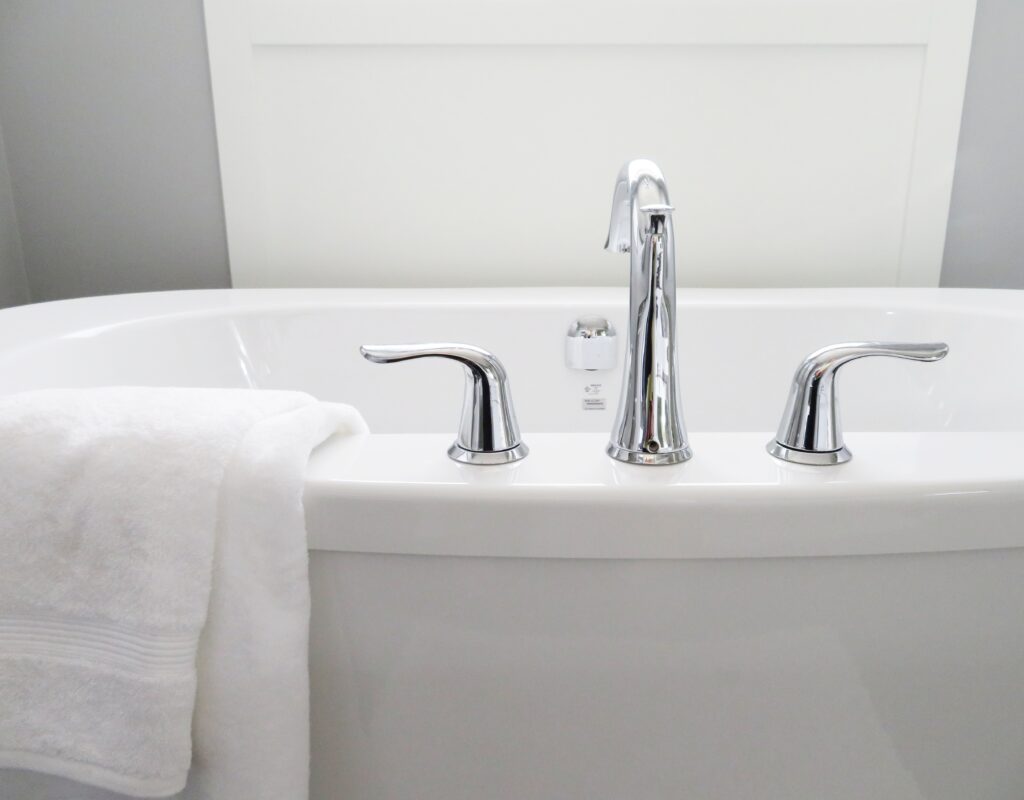
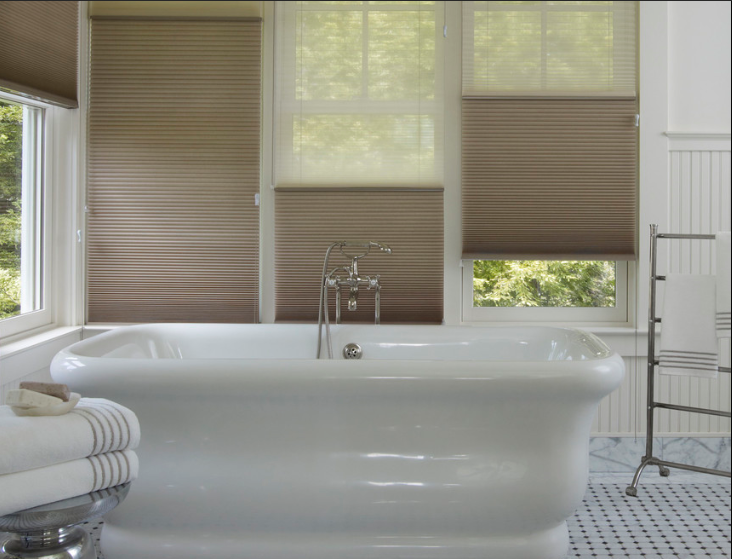
2. Replace A Tub Faucet / Spout
In this section of our bathtub repair guide, we’ll look at how to repair your tub’s faucet or what we call the tub spout. Tub spouts sometimes need to be replaced. Why? Because they are:
- Worn out
- Damaged/corroded
- Leaking
- Or water doesn’t divert properly between the tub and the shower
The video above shows you how to replace two different types of tub spouts, a threaded type or a slip-on style. If there is a set screw at the bottom of the spout, it is a slip-on style. You can use a Universal Tub Spout Adapter Kit so that you have one for either style.
Here are the tools you’ll need and the basic steps to follow:
Items Needed:
- New Tub Spout, Universal Tub Spout Replacement KitRazor Blade
- Caulking & Caulking Gun
- Pliers or Pipe Wrench
- Old Rags
- Plumber’s Tape or Thread-Seal Tape
- Allen Wrench or Screwdriver
Steps To Follow:
- Before you remove anything, shut off the water supply to your house and drain any water. Cover the drain so you don’t lose anything. Then use a razor blade to scrape off any old caulk where you are working.
- If you have a slip-on style spout, remove the set screw (with the appropriate screwdriver or Allen wrench) if present and use your hands to pull the spout off. If you have a threaded spout, use locking pliers or a pipe wrench to turn the wrench counterclockwise. This will loosen the spout and allow you to remove it. To avoid scratching the existing spout, wrap your spout with an old rag before applying pliers/wrenches.
- If you are working with a threaded spout, use some new plumber’s tape or thread-seal tape and wrap it over the threading of the pipe. Place the new spout over the pipe and turn it clockwise to secure it. You can then tighten it with a wrench or pliers, but protect your spout by first wrapping it with a rag. When it’s placed with the spout pointing down, remove the wrench/pliers and rag.
- If you are adding a slip-on spout, slide it onto the pipe until it is against the wall. Then insert the set screw and tighten it so the spout is secure.
- Use some caulk to seal the space between the base of the spout and the wall. You can then turn the water back on to your house, but make sure you let the caulking dry before you use your tub.
Remember, if you watch the video above, you’ll get even more tips and helpful visual instructions.
Minor scratches can be repaired but the way you do it will depend on what your tub is made of.
3. Repair Small Scratches
In this last section on basic bathtub repair, we’ll cover what you can do to repair minor scratches in your tub. The fixes will vary depending on the material your tub is made of. We’ll look at fixes for tubs made from the following materials:
- Acrylic
- Enamel
- Porcelain
Acrylic
Before you begin repairing scratches on your acrylic tub, clean the area with a gentle liquid dishwasher soap, water and a cloth. Then, with gloves on, apply a liquid polishing product like Gel-Gloss. This can remove surface scratches. If this doesn’t work, use fine-grit sandpaper to remove scratches. First, remember to put on a protective mask and then dampen the sandpaper and work in circular motions, gently applying pressure as you go. Wipe off with a clean cloth.
Enamel
For scratches in an enamel tub, try using baking soda. Make a paste with water and baking soda and apply it to the scratch. Use a cloth or sponge and buff the area for a few minutes. Rinse and repeat as necessary. Alternatively, you can try using a wet pumice stone over the scratch, gently going over it with the stone for about 30 seconds and then wiping the area clean.
Porcelain
To fix minor scratches on a porcelain tub, you’ll follow the same instructions as for the enamel tub. Remember to work gently so you don’t deepen scratches.
Also, if you can’t repair minor scratches, you might want to consider a repair kit. There are different ones available designed and suited for different materials. For example, you might want to try Fortivo’s Bathtub Refinishing Kit
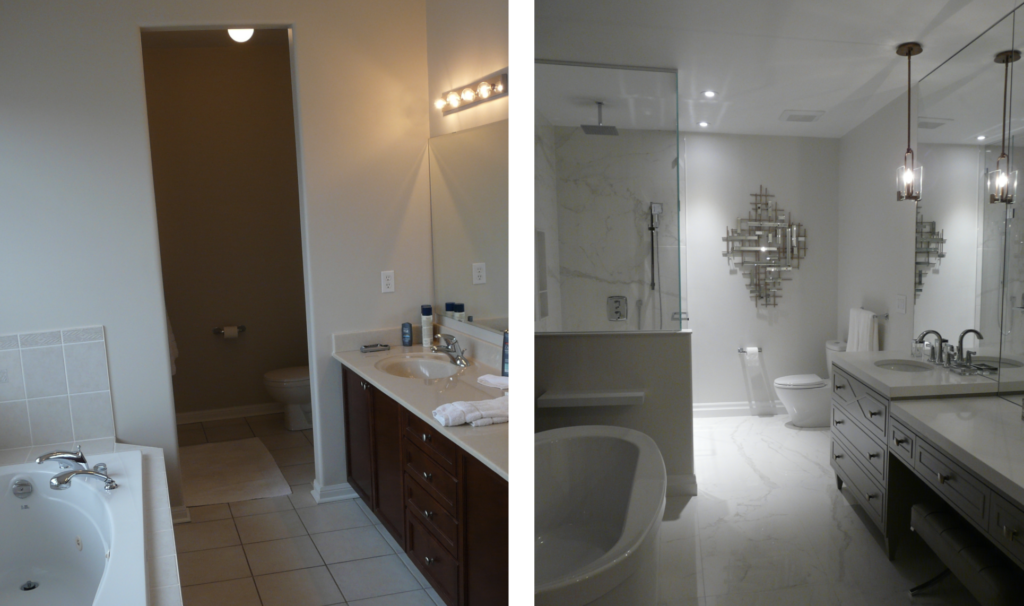
Look at these before and after pictures of a beautiful bathroom renovation from Graham’s & Son Interiors.
4. Bathroom Renovations From Graham's & Son Interiors
For serious cracks, leaks, and any other extreme bathtub repair, consider replacing your tub. Contact Graham’s & Son Interiors to find out about their Bathroom Renovation services. Even if your bathtub is not in need of repair, it may be that you just want a new tub because it no longer fits the style you want. Learn about 4 Popular Bathroom Styles.
Graham’s has over 45 years of experience with home interiors and offers clients a Free In-Home Consultation. They’ll learn what it is you want and need and then find solutions that suit your style and budget. They can help with the replacement of your tub or shower or they can do a complete bathroom renovation project for you.
Contact Graham’s to learn more. Also, don’t forget to view our gallery and keep reading for testimonials from other customers from our clientele in Cambridge and the surrounding areas.